Halloween Mask
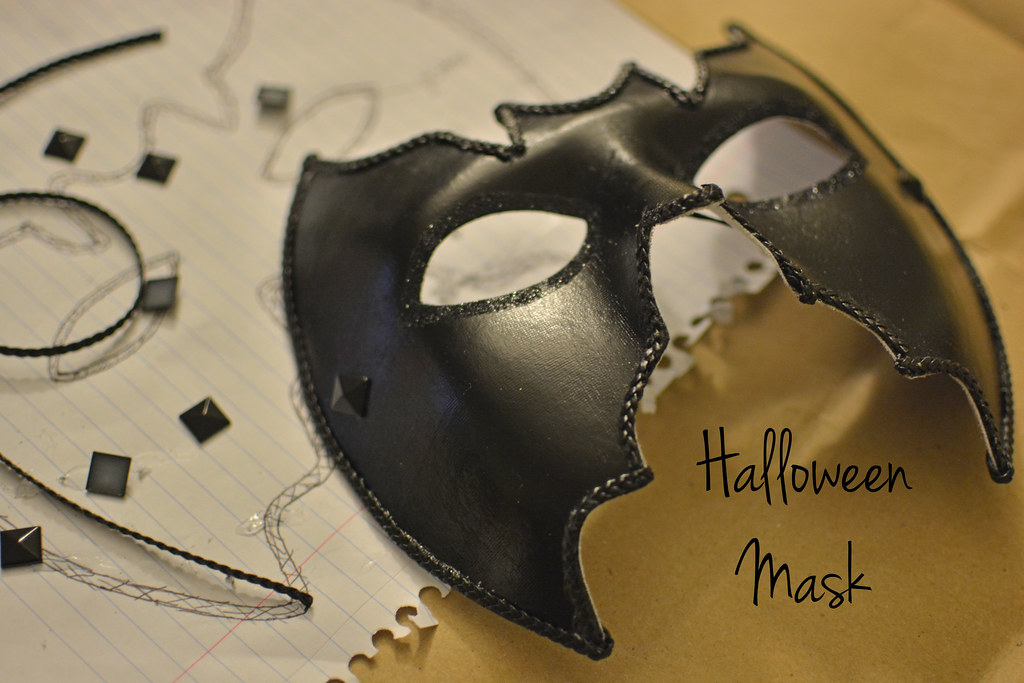
With Halloween only days away, I want to share a simple last minute way to participate in the Halloween festivities without dawning a full on costume. You can pick up a simple mask at any craft store and with a little time and some art supplies, you will have your own, personalized mask to wear for the holiday. Check out below for how I decorated my mask.
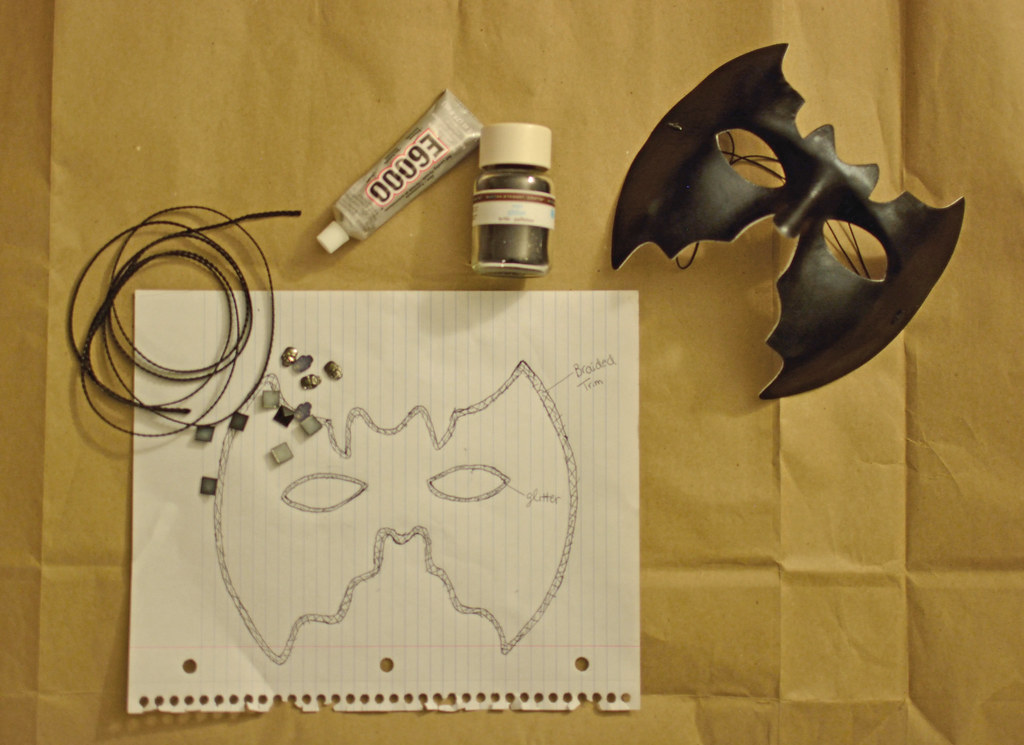
What you’ll need:
-A mask (I got mine here)
-Glue (I used E6000 and Modge Podge)
-Painter’s Tape
-Paint Brush
-Hairspray
-Paint Brush
-Hairspray
-Different decorations such as studs, glitter, trim, sequins, paint, etc
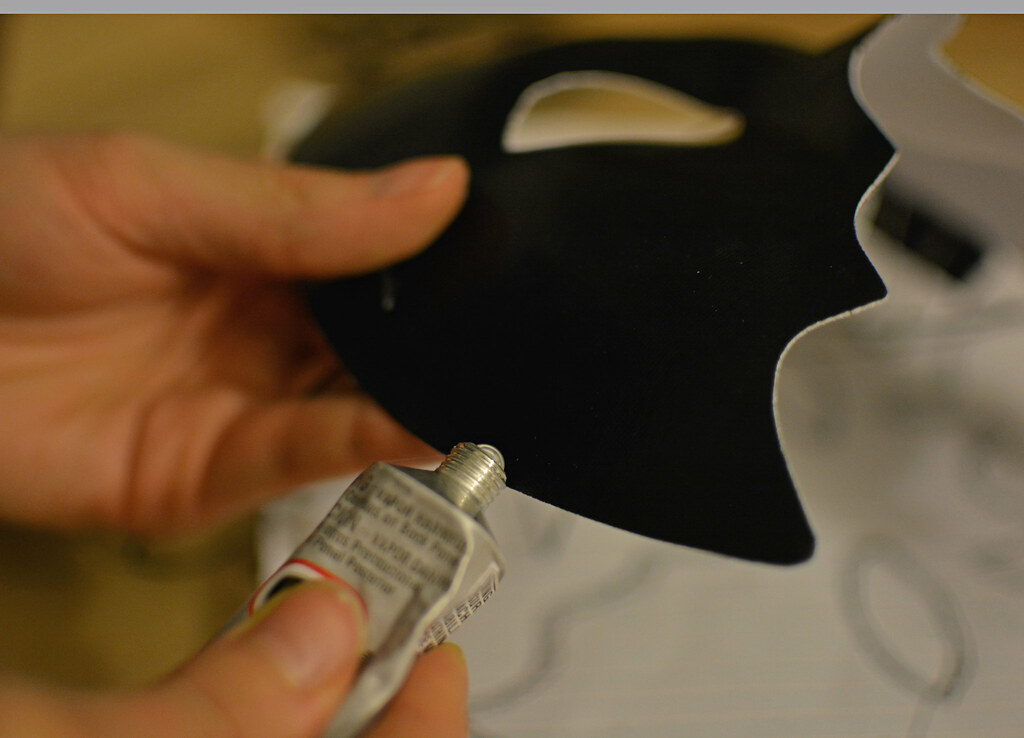
1. To start, apply a thin line of glue (here I used E6000) across the edge of the mask for applying the trim.
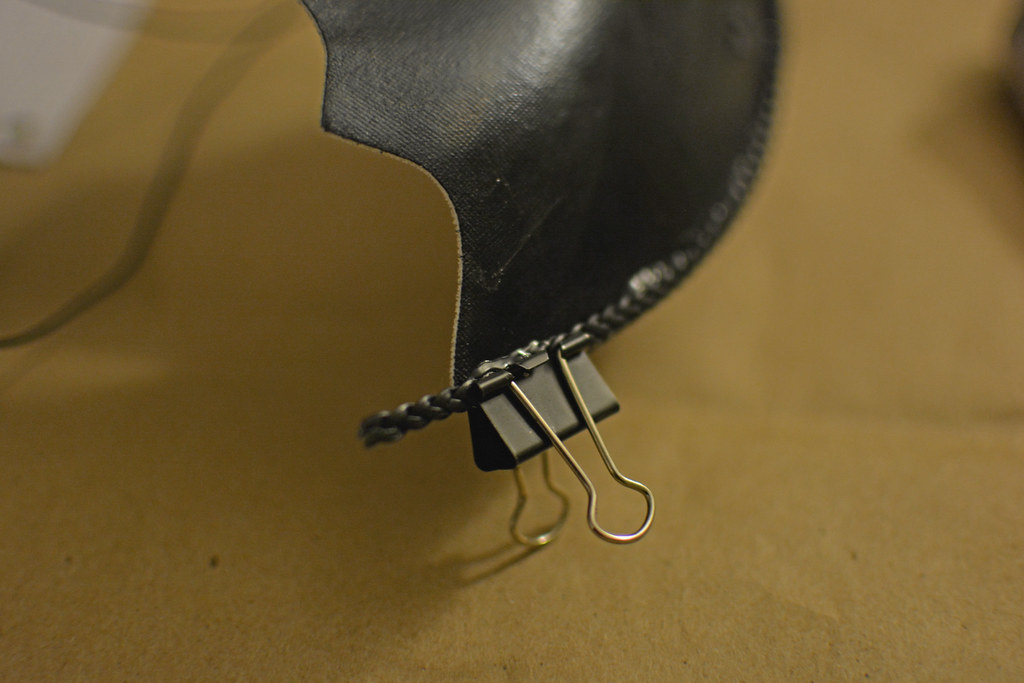
2. Once the glue is applied, add the trim to the edge of the mask. Then use a paperclip (or other type of clip) to hold the trim in place while it dries.
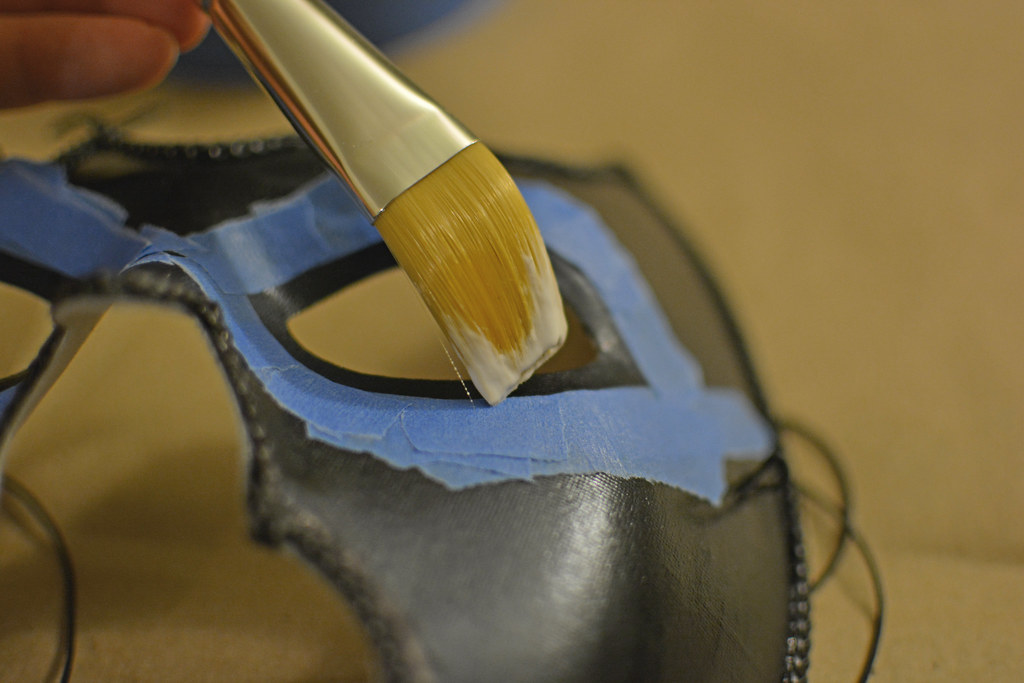
3. To apply a glitter border to the mask, tape around the area you wish to add the glitter. I chose to do a border around the eyes. Once taped off, apply glue to the area. I used Modge Podge for glue here.
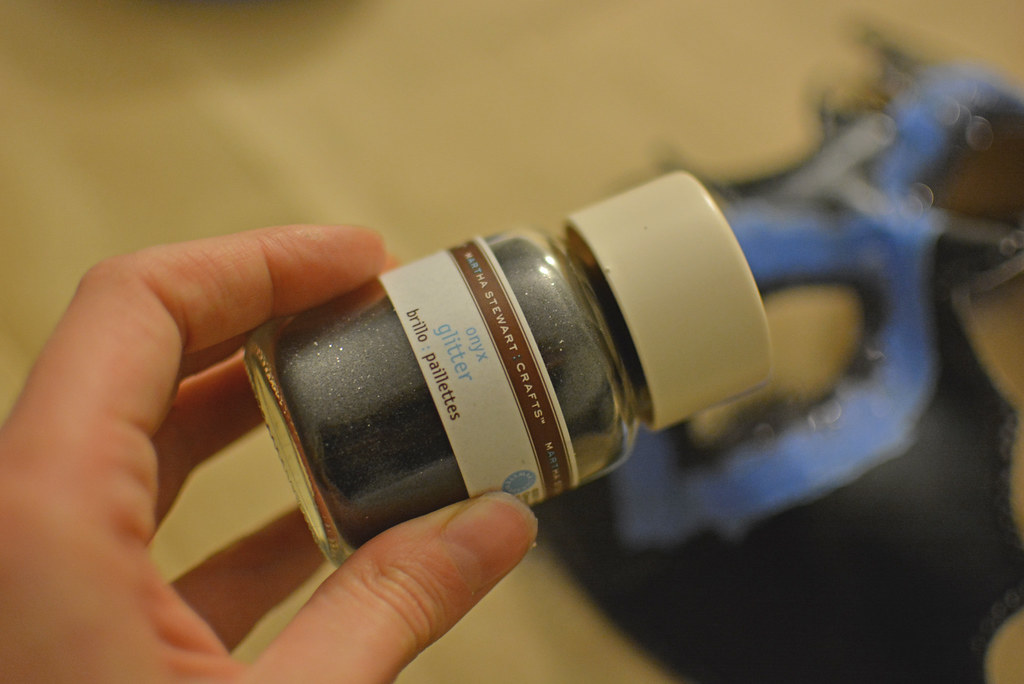
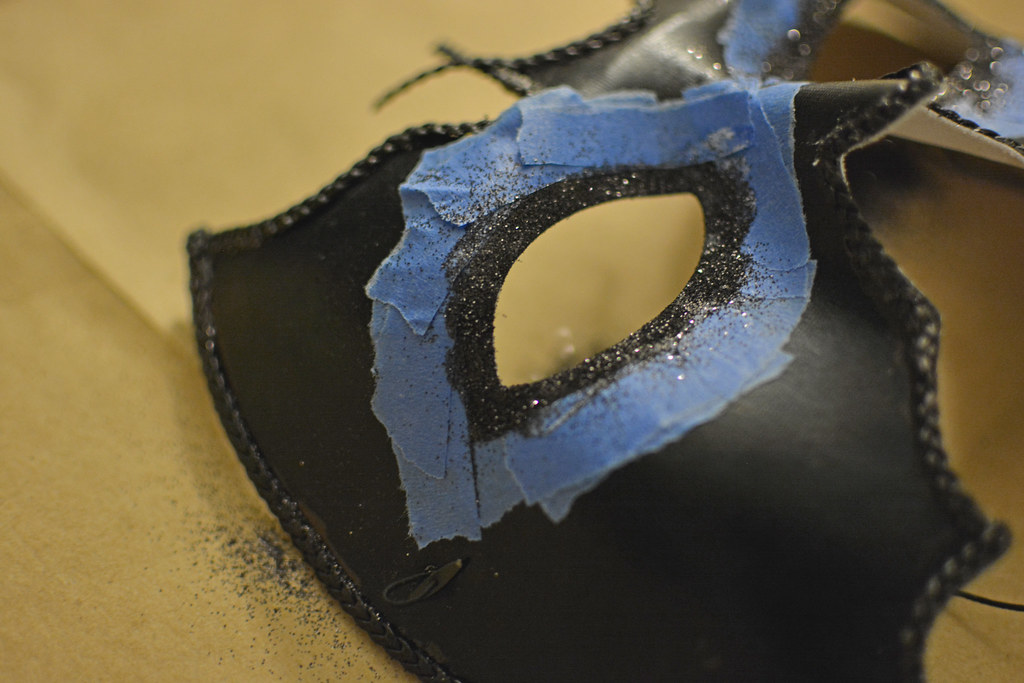
4. Once the glue is applied, sprinkle on the glitter and let it set for a couple minutes before removing the tape.
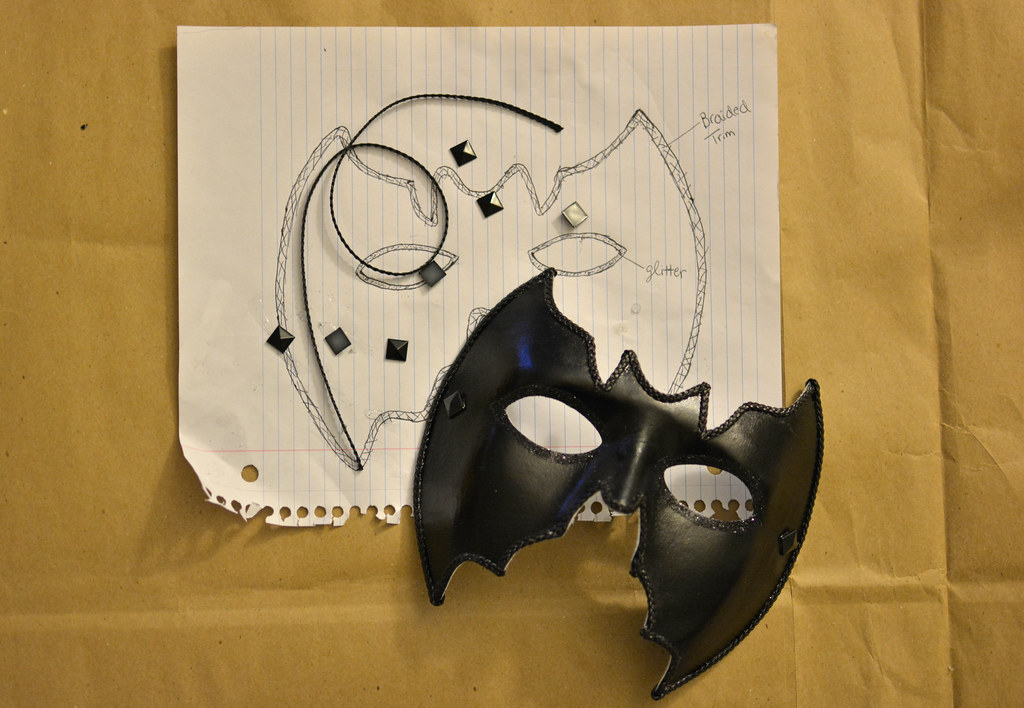
5. Add any other decorations using glue to the mask, I added some studs. As a final step, I sprayed the mask with hairspray to give it a glossy finish and to keep the glitter in place.
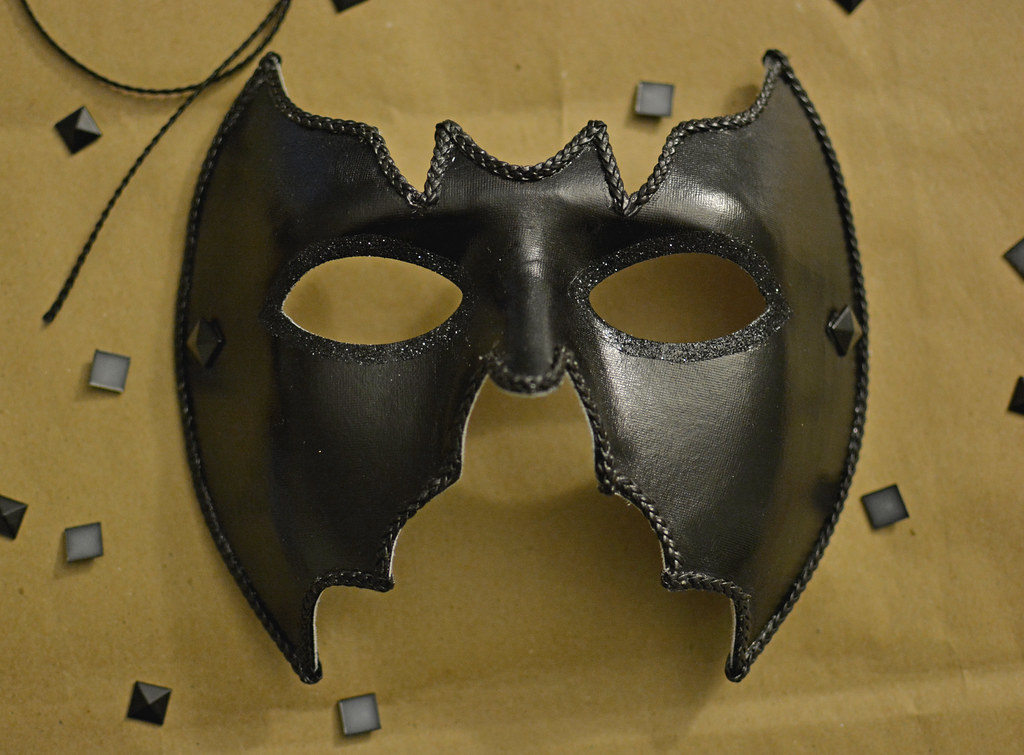
The Final Product!


4 comments
Oh what a great idea, it looks so professional!
ReplyDeleteMuch love xxx
CHRISTINANISTA.COM
Wow. I'm impressed. This is such an intricate mask. I love seeing the step-by-step instructions. :] // itsCarmen.com ☼ ☯
ReplyDeletelooks awesome :D
ReplyDeletex
http://anoddgirl.blogspot.com.au
Amazing!! Thanks for sharing!! I hope you will visit my blog!
ReplyDelete