Pinecone Garland
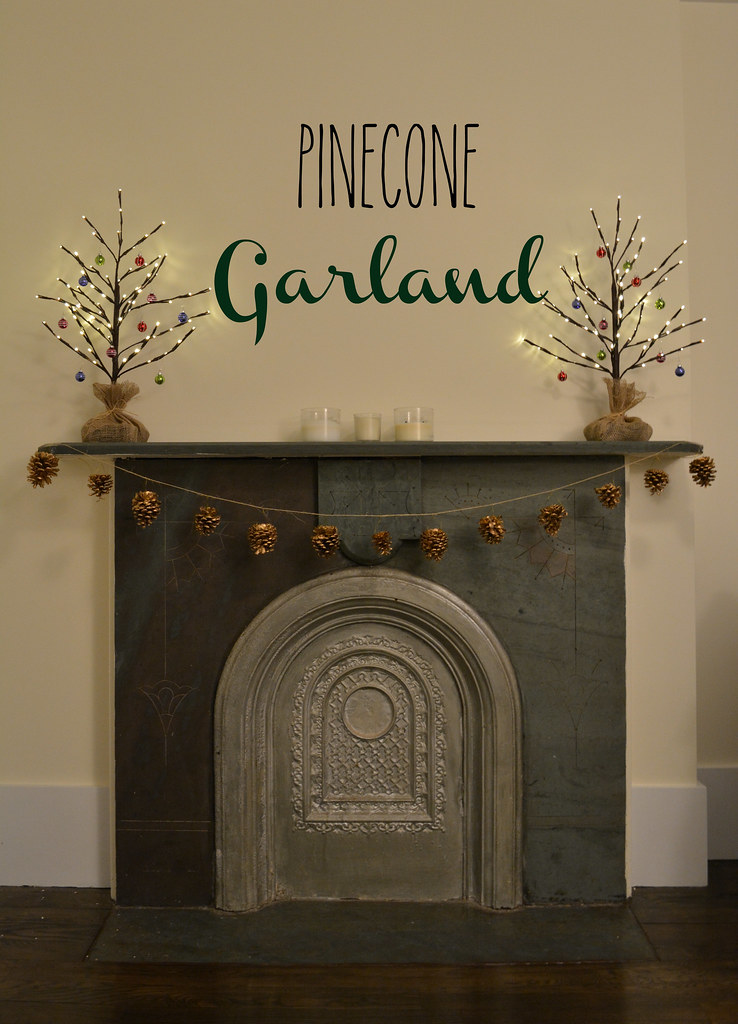
Decorating for the holidays is one of my favorite ways to get in the holiday spirit. Since it is difficult to have a Christmas tree in a New York apartment, I got creative this year in my decoration ideas and made this pinecone garland. It was easy to make and added just enough holiday spirit. Plus, the pinecones I used were cinnamon scented, so it leaves my apartment with a wonderful festive scent.
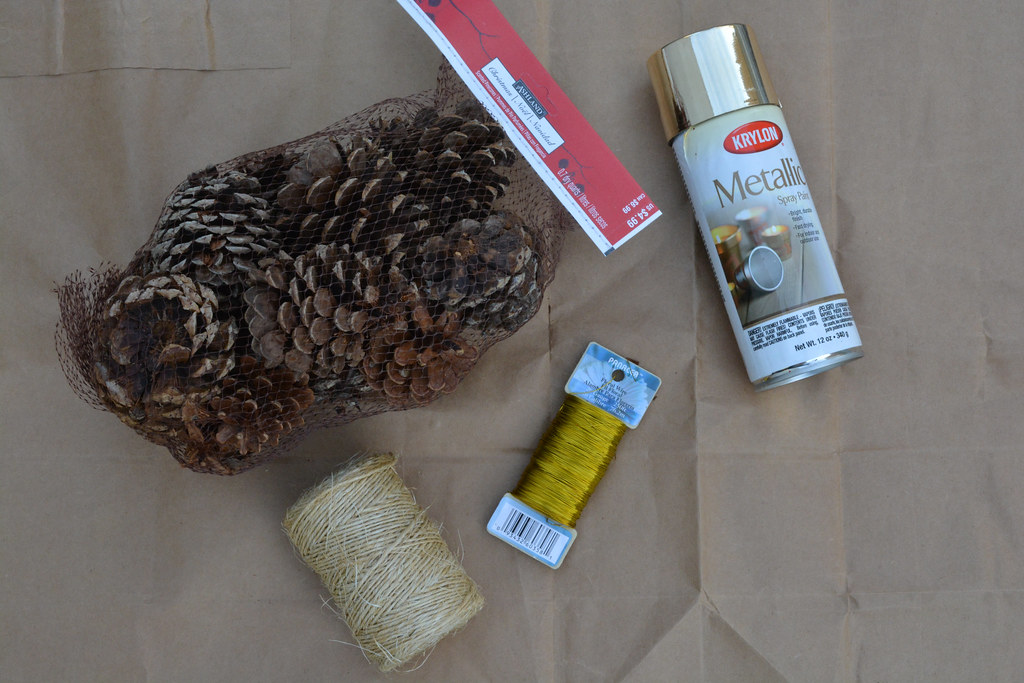
What you’ll need:
-Pinecones (I got mine at Michaels)
-Floral wire
-Gold spray paint
-Twine
-Scissors
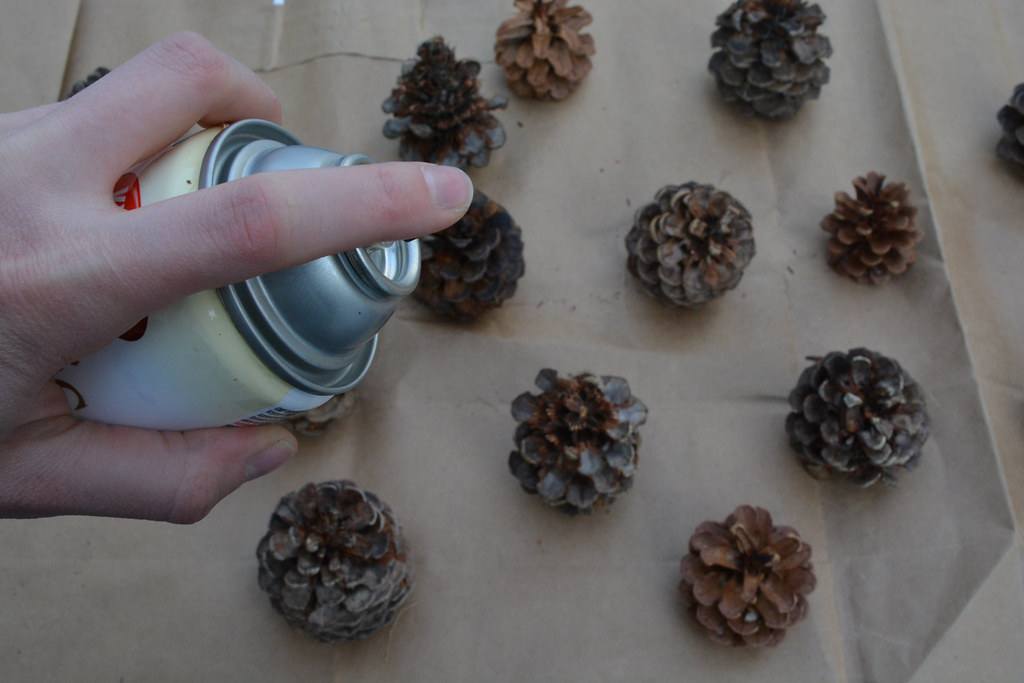
1. Lay out pinecones and spray paint them evenly. Allow to dry between coats. I would recommend 3-4 coats.
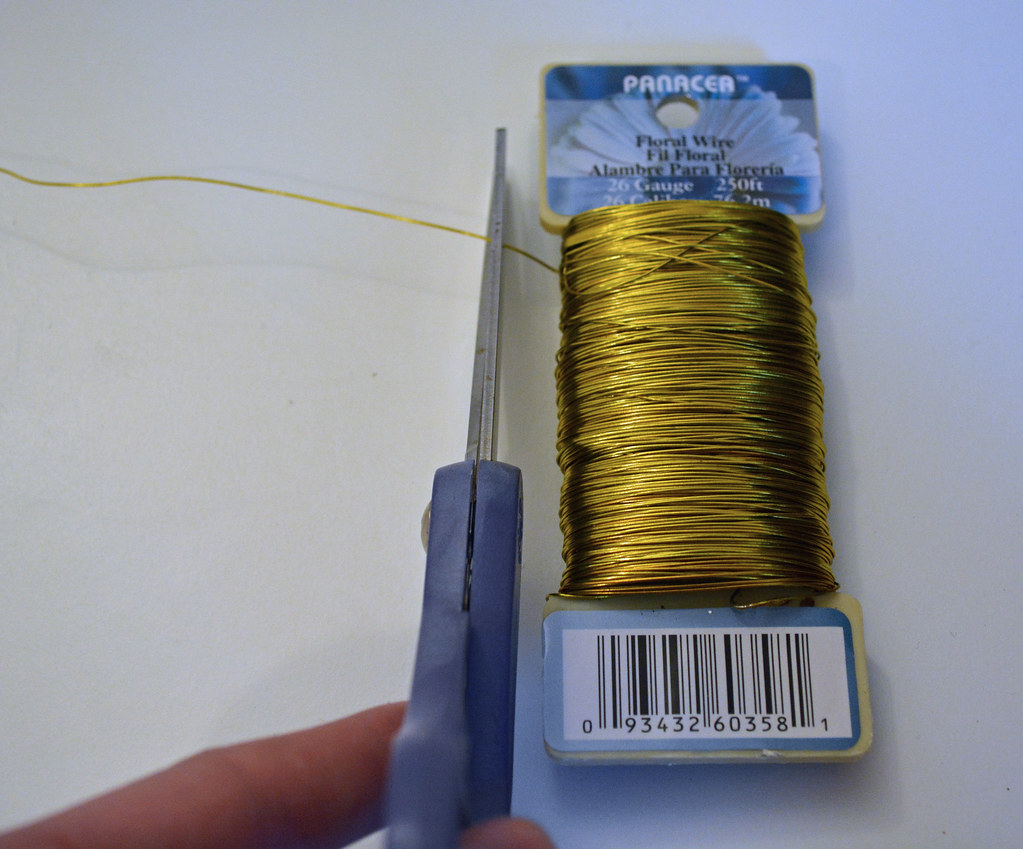
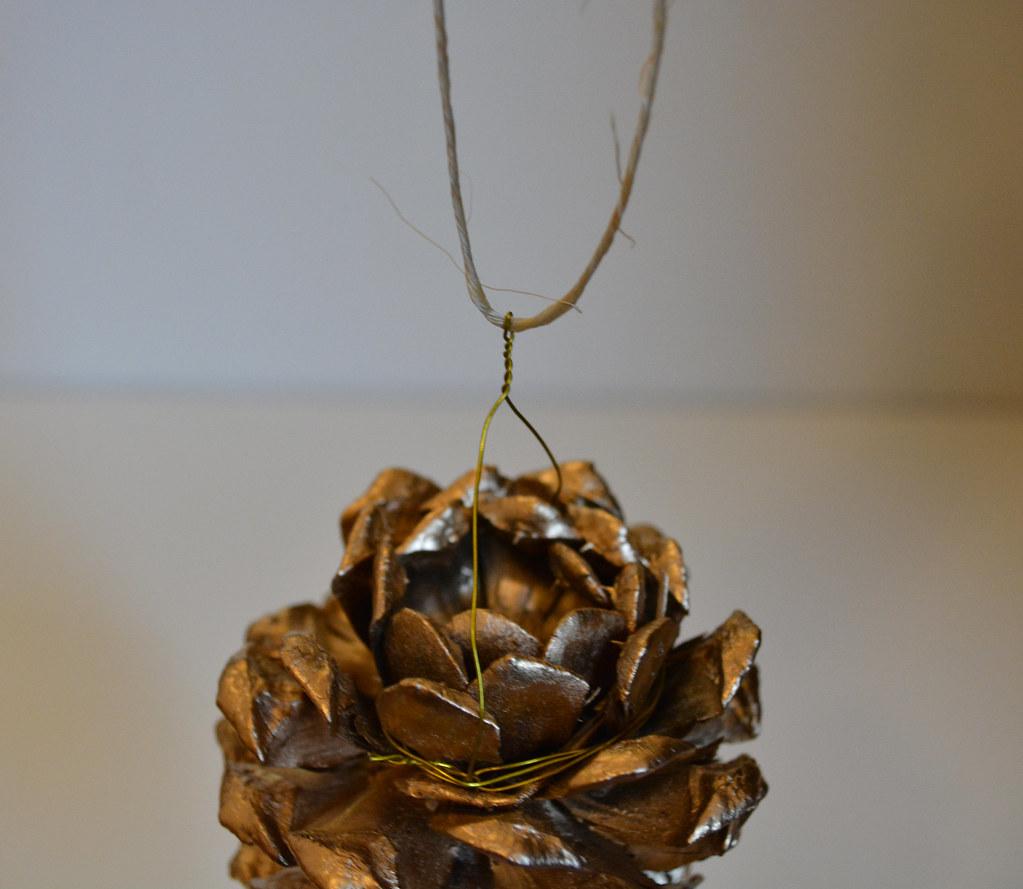
2. Cut a 18 inch piece of wire.
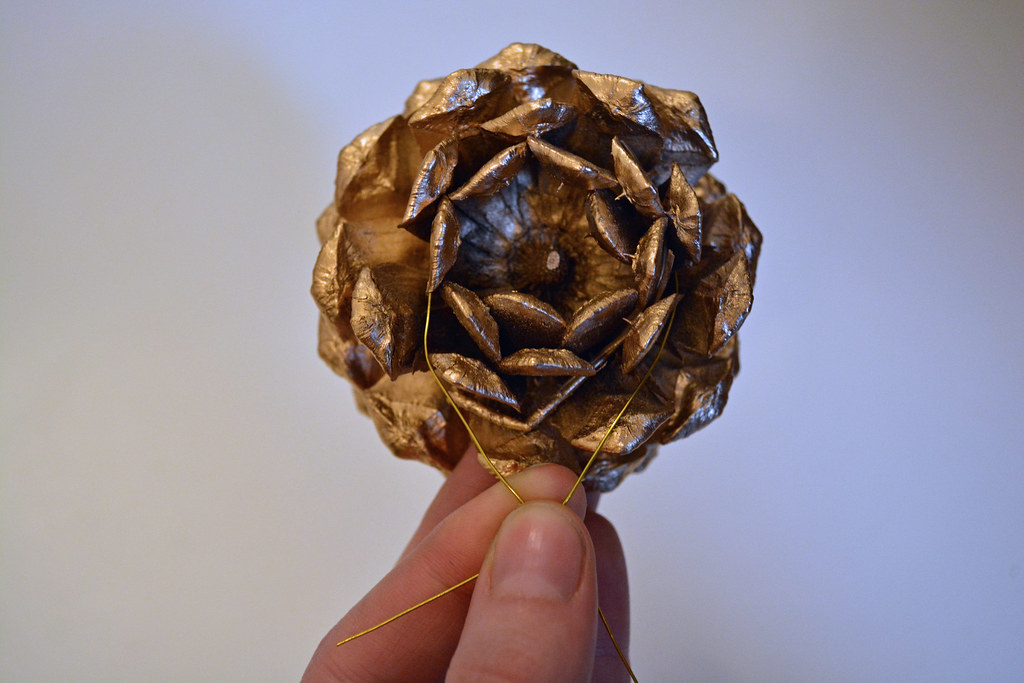
3. Take one of the spray painted pine cones and wrap the 18 inch piece of wire around the bottom of the pinecone with one end of the wire having a 10 inch or so tail. To secure the wire, twist the two ends together.
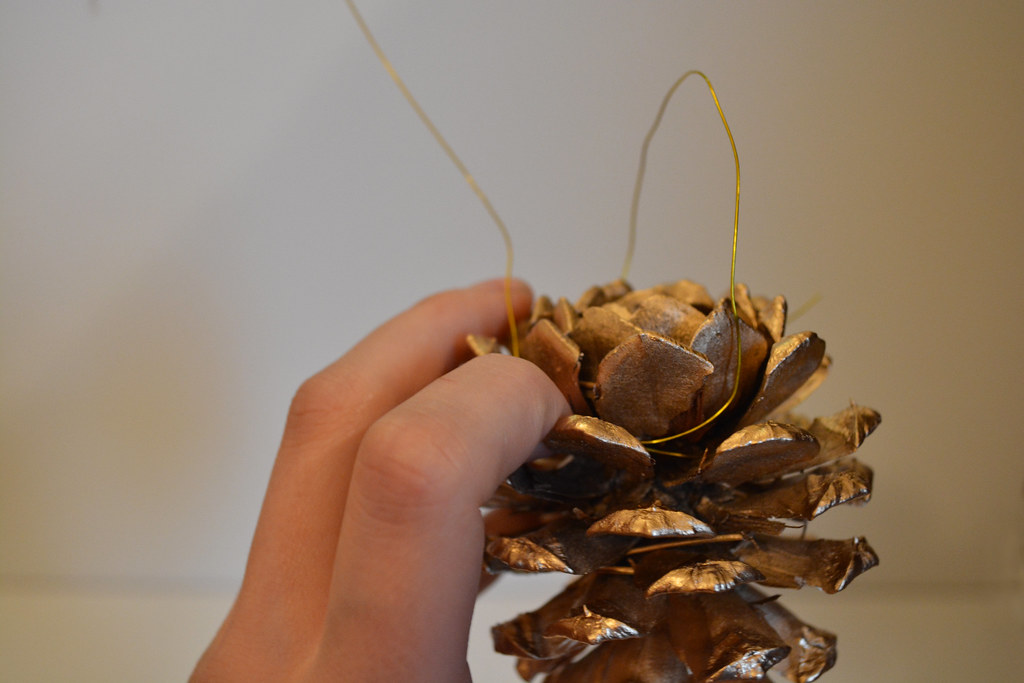
4. Using the end that has a longer tail, bring it across to the other side of the bottom of the pinecone to create a handle as shown in the picture.
5. Using the remaining wire of the longer end, wrap it around the bottom of the one and a half times. This end should now be next to the other end of the wire.
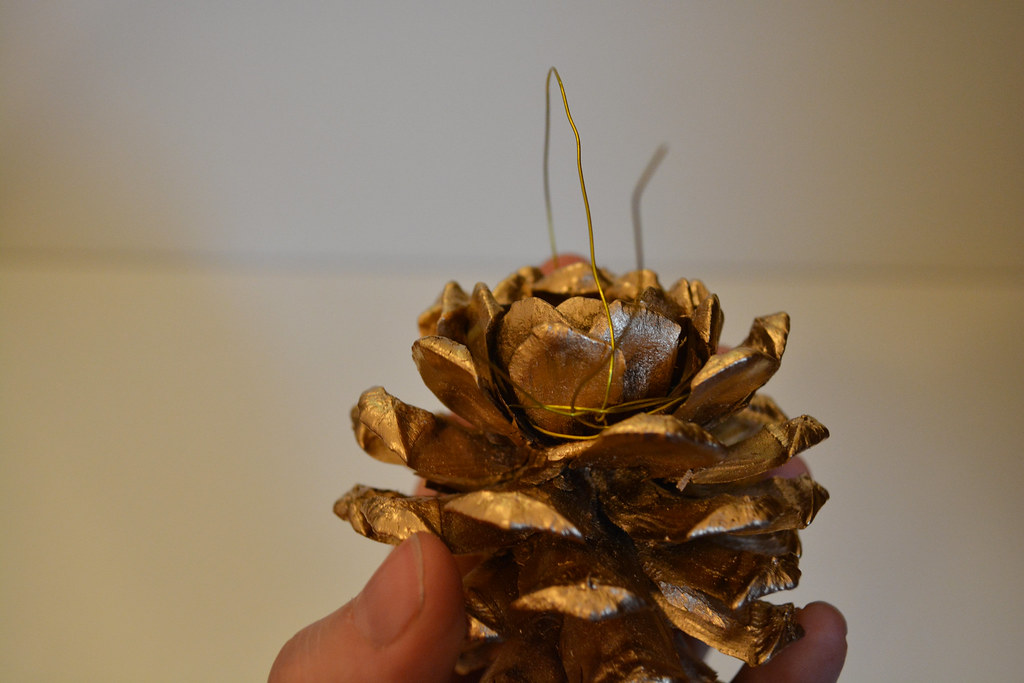
6. Twist the two ends of the wire to secure the handle on the bottom. Repeat steps 2-6 for each of the pinecones.
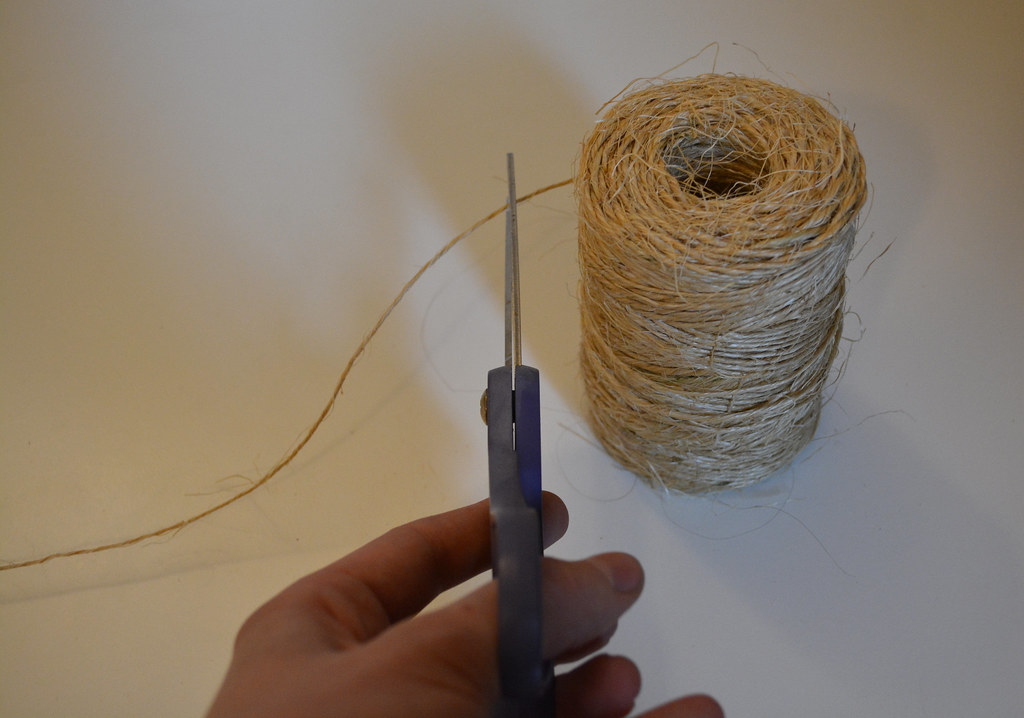
7. Once the pinecones are ready, cut your piece of twine. I made mine a foot longer than the space I would be hanging the garland.
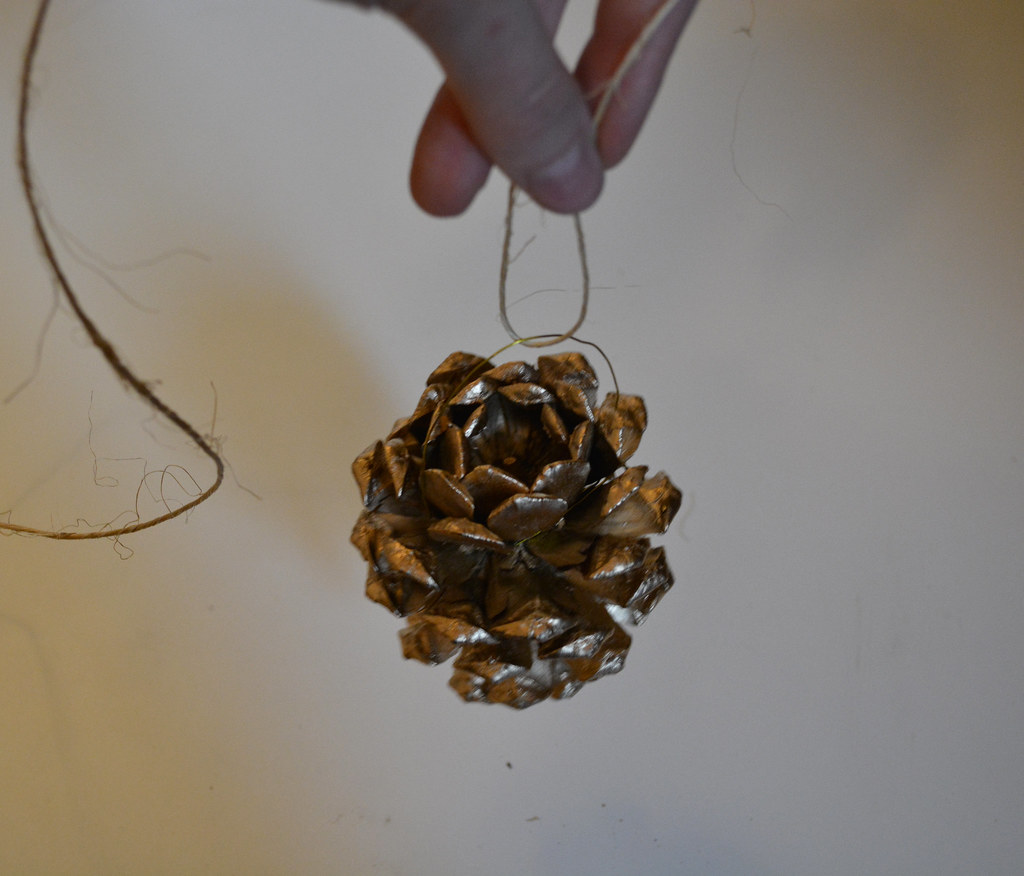
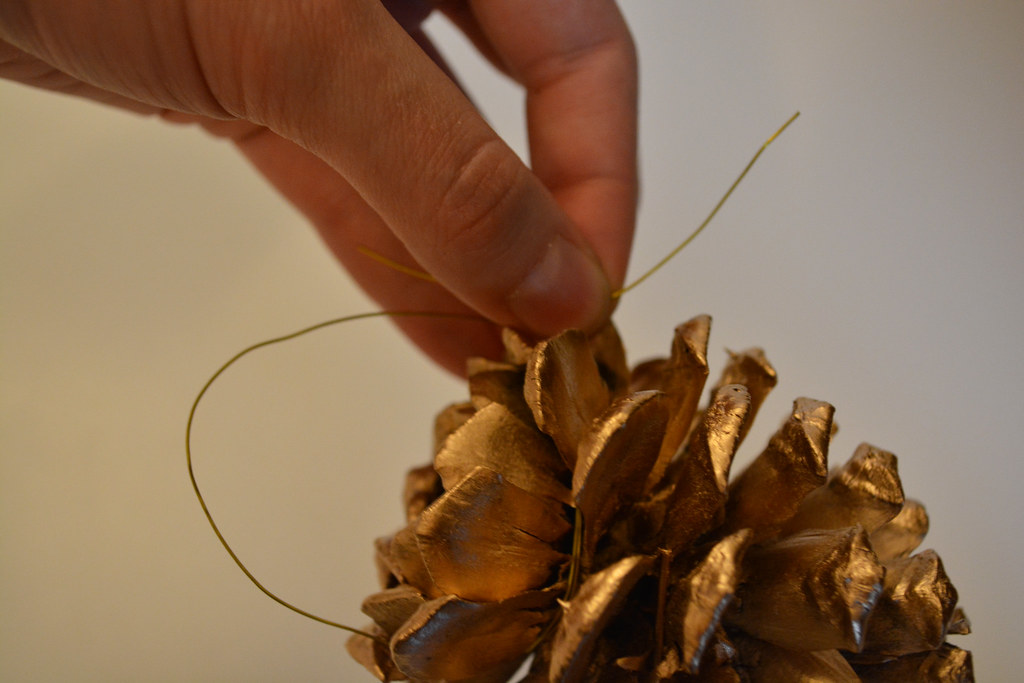
8. Taking a pinecone, loop the twine through the metal handle you created.
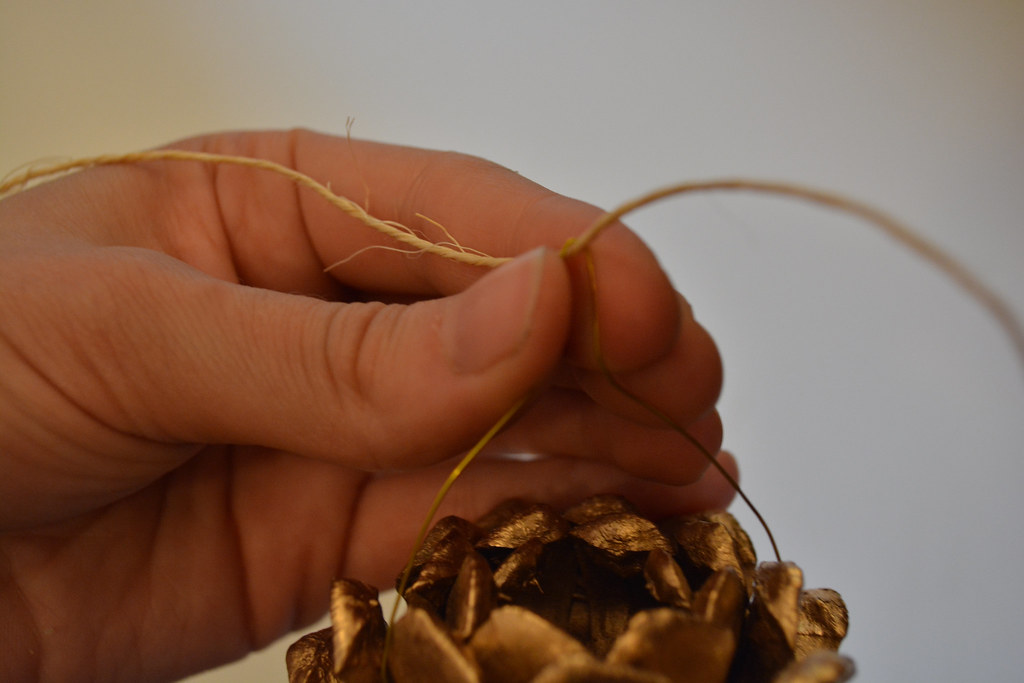
9. Using your fingers pinch the wire around the twine and twist the wire to secure it in place. Repeat steps 8 and 9 for each pinecone spacing them out on the twine. On my garland, I left 4-5 inches between each pinecone.

10. Once all pinecones are attached hang your garland.
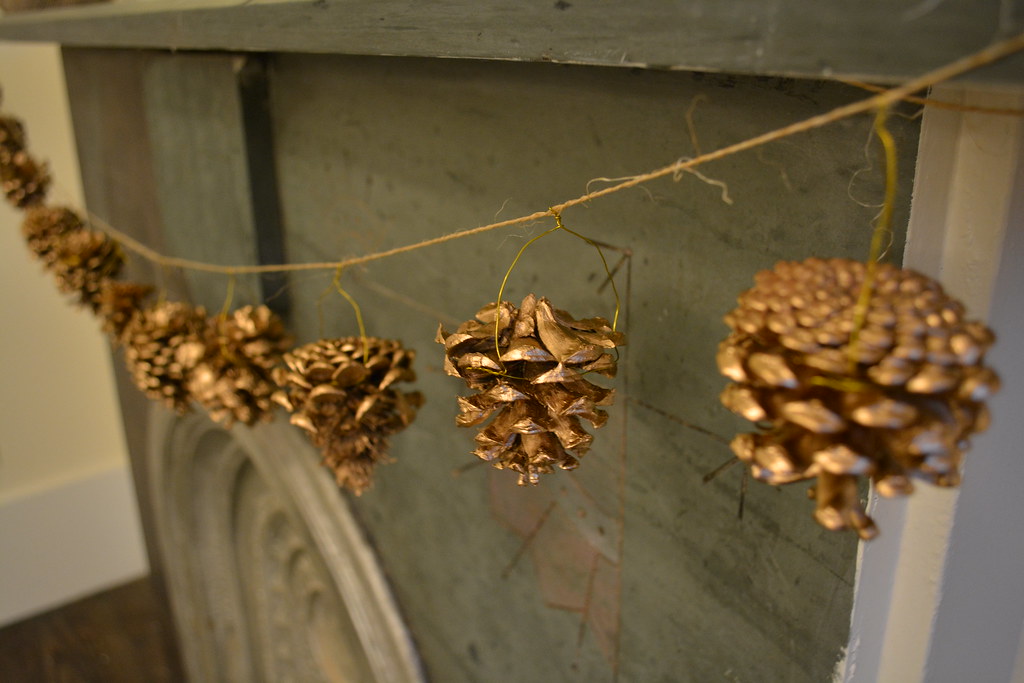

The final product!


0 comments